No products in the cart.
Making your own natural henna paste at home is one of the easiest ways to enjoy fresh, chemical-free hair colour. You choose every ingredient, so you know exactly what goes into the mixture. Natural beauty products continue to grow in popularity worldwide.
More than half of consumers now prefer plant-based hair and skincare options over synthetic alternatives. A good henna paste starts with the right ingredients and the correct mixing method. Small changes can affect the colour, texture, and final results.
This guide shows you each step to prepare a smooth henna paste for rich, natural-looking colour.
Which supplies are essential for your first batch?
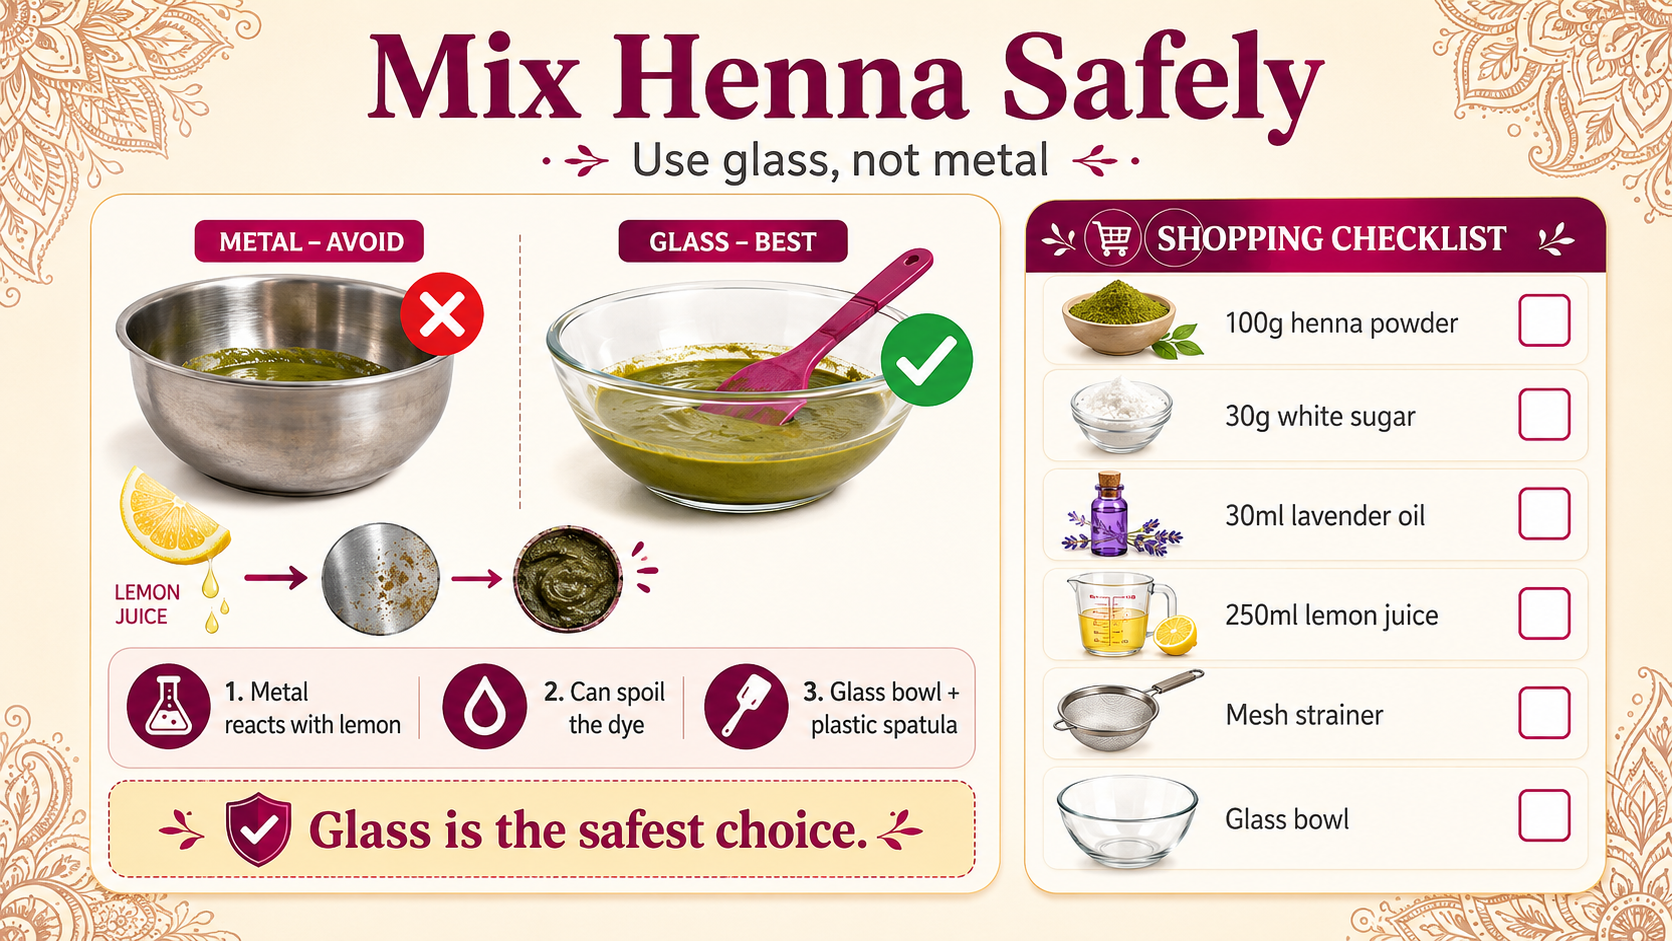
You must gather organic henna powder, white sugar, essential oil, and bottled lemon juice. Buying these items is the very first step toward a successful stain. You need 100 grams of fresh powder and 30 grams of sugar.
Furthermore, get 30 millilitres of safe lavender oil. Add 250 millilitres of bottled lemon juice to your list. Ultimately, these items create a very strong and dark dye. Research results show that using the right ratios leads to much better results.
How do you pick a powder that actually works?
Look for a bright pea-green colour and a very strong herbal plant scent. Fresh powder ensures your final skin tone is a very dark brown. You should avoid any powder that looks brown, grey, or very dusty.
Fresh leaves contain more natural dye molecules for your skin art. Similarly, they make the smoothest paste for your hair. In the end, high-quality powder is the most important part of your shopping trip.
Why is the “Body Art Quality” label so important?
This label ensures the powder is very fine, totally pure, and safe. You can find this henna in many local UK grocery shops easily. Specialist online stores often have the best professional quality available. Look for the label on the box before you buy it.
Furthermore, check health shops for pure lavender or tea tree oils. Ultimately, buying local or from trusted sites is very smart for beginners. This ensures your skin stays healthy.
What happens if you use a metal bowl for mixing?
Metal can react with the natural acids in the lemon juice and ruin the dye. Specifically, you should avoid using any metal mixing tools for this process. Use a glass bowl and a sturdy plastic spatula instead.
Metal might change the colour of the henna to something strange. These simple glass tools keep your kitchen very tidy and clean. In conclusion, using glass is the safest and best method for mixing.
- Select 100 grams of organic, bright green henna powder.
- Buy 30 grams of plain granulated white sugar.
- Purchase 30 millilitres of pure lavender oil.
- Get 250 millilitres of bottled lemon juice.
- Find a fine mesh strainer and a glass bowl.
What is the best way to sift the dry powder?
You should push the green powder through a fine mesh strainer into a bowl. Sifting removes tiny sticks and grit from the dried leaves. Get started by placing a strainer over a clean glass bowl.
Pour the green powder into the mesh very slowly. Next, push it through with a large clean metal spoon. This step prevents clogs in your henna cones later. As a final thought, sift the powder twice for extra silkiness.
Why should you use lemon juice instead of water?
Lemon juice is acidic and helps the henna dye release very slowly. This liquid ensures the colour stays bright for many weeks on your skin. You can use water for much faster dye results today.
However, water stains often fade much quicker than lemon juice. Ultimately, lemon juice provides the most reliable results for all beginners. It is the best choice for a long-lasting and beautiful natural tattoo.
How do you reach a mashed potato consistency?
Add your lemon juice slowly while stirring until the paste is thick. Start stirring right after you add the fresh lemon juice. Use a strong spoon or spatula for this specific task. Press the paste against the bowl sides very firmly now.
This action breaks up every green lump in the mix. Furthermore, keep stirring for about ten minutes for a smooth result. To sum up, a smooth mix is vital for art.
Why is adding white sugar a smart move?
Sugar makes the henna paste very flexible and quite stretchy for drawing. This flexibility helps you draw thin lines without the paste breaking. Moreover, it keeps the paste wet on your skin for a longer time.
Wet henna releases many more dye molecules into your pores. Specifically, thirty grams is the perfect amount for this batch. To wrap up, sugar keeps your design from cracking and falling off.
- Double sift the powder for extra smoothness.
- Use bottled lemon juice for consistent acidity.
- Add 30 grams of sugar for better stickiness.
- Mix 30 ml of lavender oil for a deep colour.
- Choose glass bowls to avoid chemical reactions.
Which essential oils help create a very dark stain?
Lavender, tea tree, and cajeput oils help the dye molecules work better. Use 30 millilitres of oil for every hundred grams of green powder. This ratio is perfect for achieving very dark brown colours.
Pour the oil into the thick green mixture now. Stir it until the oil fully disappears into the paste. You will notice the paste becomes very shiny and smooth. Ultimately, the oil is a secret for professional results.
How do you cover the bowl for the resting period?
Place plastic wrap directly over the surface of the paste. This stops a hard crust from forming on the top of your mix. Specifically, make sure no air bubbles are trapped inside the wrap.
Then, put another layer of wrap over the top of the bowl. This keeps the moisture inside the paste very well. Overall, this protection allows the dye to develop perfectly while you wait.
Where should you store the paste while it rests?
Place the bowl in a warm and dark indoor spot like a cupboard. Keep it away from cold air draughts and open windows. A steady temperature helps the dye molecules release perfectly now.
Furthermore, do not move the bowl while it is resting. Ultimately, a warm environment speeds up the natural dye release. This wait time is what makes the henna strong enough to stain your skin.
What chemical change happens inside the bowl?
The dye molecules slowly leave the dried plant cells to become active. This process takes eight to twenty-four hours in the UK. Actually, the time depends on your specific room temperature today. The lawsone dye is waking up your skin art. You must be patient to get the darkest colour results. In the end, waiting is the most important part of the entire process.
- Stir the paste until all lumps disappear.
- Use a sturdy spatula for easier mixing.
- Press plastic wrap directly onto the paste.
- Keep the bowl in a warm, dark cupboard.
- Wait between 8 and 24 hours total for dye release.
How can you tell if the dye is ready?
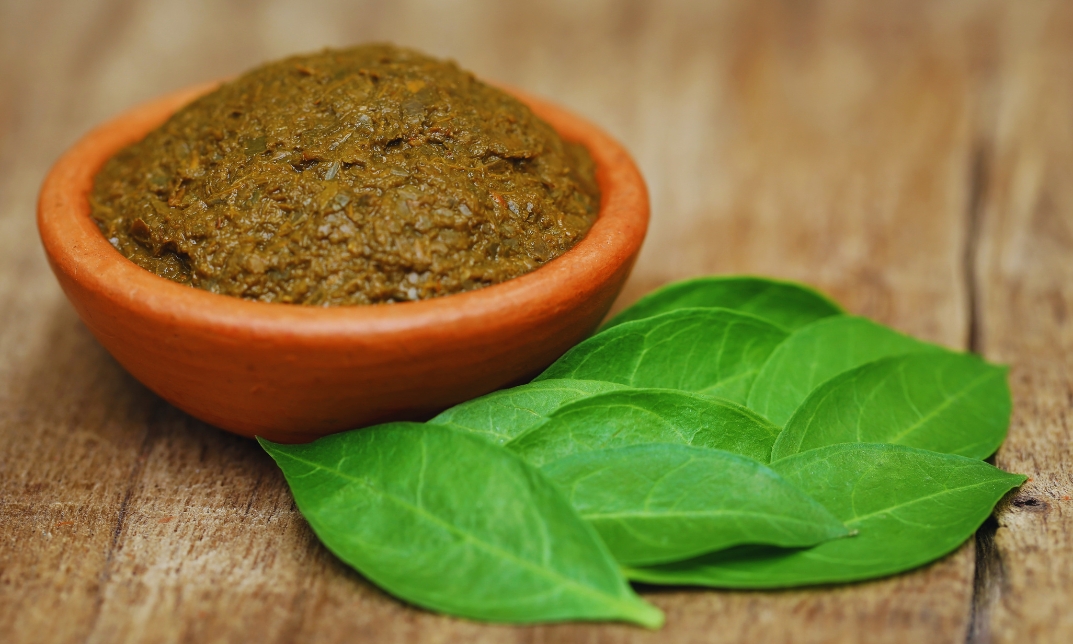
The top layer of the paste should turn a very dark brown. When you see this colour change, you know the dye is active and strong. However, the paste underneath the surface stays a bright pea-green colour. This is called a “colour split”. Furthermore, you might see tiny orange drops on the top. All in all, these signs show the henna is of very high quality.
Which quick test proves the stain is powerful?
Put a tiny dot of paste on your clean palm for five minutes. Wipe it away and look at the skin underneath. The skin should look a bright pumpkin orange today. This means the dye is very powerful and quite fresh. If it looks pale, you should wait for a few more hours. Ultimately, the palm is the best place for testing colour because the skin is thick.
How do you fix a paste that is too thick?
Slowly add lemon juice and stir until the paste feels smooth and creamy like yoghurt. You want the paste to flow off your spoon in smooth ribbons. Furthermore, mix it well to remove any tiny air bubbles. A smooth flow makes drawing your patterns very easy. To wrap up, add liquid drop by drop for total control. If you add too much, the paste will be too runny to use.
Why is straining through a stocking a professional secret?
This step removes every single tiny lump for a perfectly smooth flow. Put the paste into a clean nylon stocking now. Then, squeeze it firmly into a new clean glass bowl. This makes the paste feel like silk on your skin. Actually, this is a professional secret step for all henna artists. Overall, it prevents any clogs in your thin henna cones while you work.
- Look for a dark brown surface colour.
- Test the dye on your palm first.
- Add juice until the paste looks creamy.
- Ensure the paste flows in smooth ribbons.
- Squeeze paste through a nylon stocking now.
How do you fill your henna cones properly?
Put the smooth paste into a large piping bag and snip the tip. Next, squeeze it into the empty plastic henna cones. Only fill them three-quarters of the way to the top. Do not overfill the cones at all during this step. If they are too full, you cannot close them. Finally, use a paper towel for any small spills. This keeps your cones clean and easy to hold.
Which method seals a cone like a professional?
Fold the top of the cone down and tape it several times. Use clear tape to wrap the fold very tightly. Ensure the seal is very strong so no paste leaks from the back. A tight cone is very easy to squeeze for your art. Ultimately, this protects the paste from drying out too fast. It also makes your drawing much more accurate and neat.
Where should you store your extra henna cones?
Store your extra cones in the freezer to keep the dye strong. Natural henna is a fresh plant product like food. Consequently, it can go bad very fast at room temperature. The cold air keeps the dye molecules very strong for six months. Specifically, put them in a sealed bag for extra protection. In conclusion, freezing is the best way to save your hard work.
How do you safely thaw a frozen cone?
Take a cone out and let it sit at room temperature for ten minutes. It will thaw very quickly for your art session. Do not use a microwave for this thawing process at all. High heat will destroy the natural dye very quickly. All in all, natural thawing is the best for maintaining quality. Once it is soft, you can start drawing your designs.
- Fill cones only three-quarters full of paste.
- Tape the top of the cone tightly.
- Store all extra cones in the freezer.
- Use a sealed bag for extra protection.
- Label the bag with the date of mixing.
What is the best way to prepare your skin?
Wash your skin with plain soap and warm water to remove oils. This removes barriers that block the natural henna dye. Henna needs to touch the skin directly to work. Furthermore, do not use any lotions or creams before you start. Dry the area gently with a fresh, soft towel. Ultimately, clean skin gives the best and darkest colour for your new tattoo.
Why is staying warm helpful for the stain?
Heat opens your pores and helps the natural dye sink in deeper. When you are warm, the colour darkens much faster. In the UK, use a radiator to stay cosy while the paste dries. Similarly, drink some warm tea for more body heat. The dark colour will look very rich and beautiful if you stay warm. Overall, heat is a very good friend to henna.
How do you remove the dry paste correctly?
Use your fingernail to scrape the dry bits away instead of water. Remove the paste into a bin or a tissue. You will see a bright orange stain on the skin underneath. Actually, this is just the first step of the colour change. To wrap up, apply some coconut oil for protection. This helps the colour develop and keeps your skin very soft.
When can you finally use water on your skin?
Avoid water for the first twenty-four hours after removing the paste. Water stops the colour from getting dark and rich. If you must wash your hands, use a little oil first. This creates a waterproof barrier for your new art. Specifically, the colour darkens for two days on your skin. In the end, patience gives the best and most beautiful results.
- Thaw cones naturally at room temperature only.
- Clean skin with soap before applying henna.
- Stay warm to help the dye darken.
- Scrape off the dry paste with nails.
- Avoid using any water during removal.
Which colour changes happen over three days?
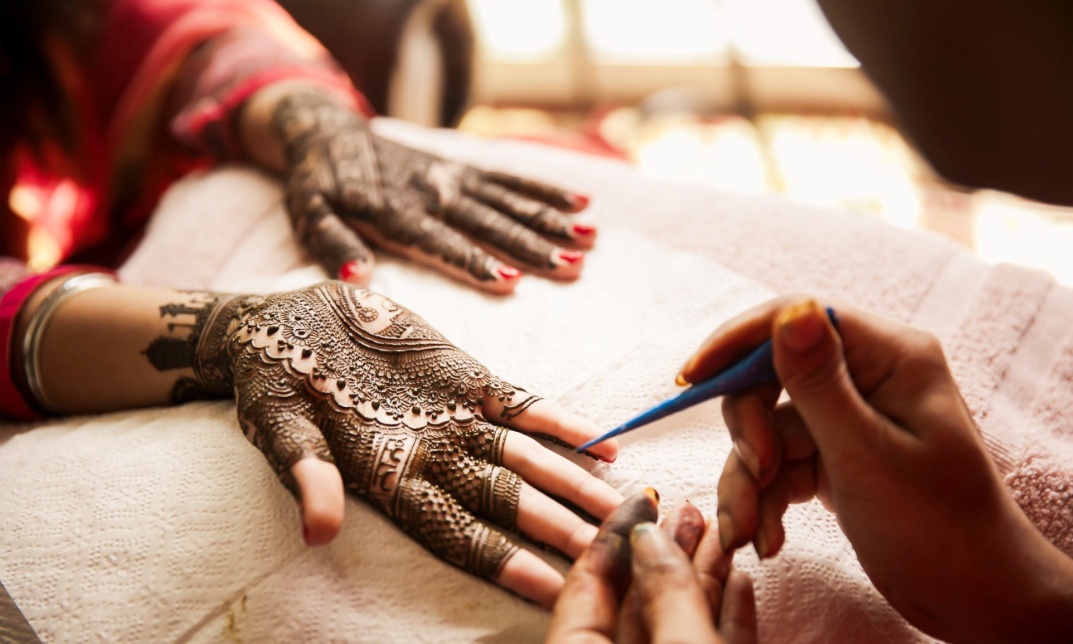
The stain starts as orange, turns red, and finally becomes dark brown. This is a very natural process for the plant dye. On the first day, it looks like a bright pumpkin. By day two, it turns a deep mahogany colour. Specifically, the stain lasts for about one or two weeks. All in all, the colour change is very beautiful and fun to watch.
Why is safety important for your young skin?
Natural henna is very safe, but black henna is very dangerous. Black henna contains chemicals that can cause very painful scars on your skin. Specifically, natural henna always smells like fresh sweet grass or herbal oils. Therefore, always make your own paste at home to stay safe. Ultimately, your health is the most important thing to think about when doing art.
Where can you find simple drawing patterns?
Look for patterns in books or search for ideas on the internet. You can copy small dots and very thin lines at first. Practise on a piece of paper or glass before trying skin. This helps you learn how to control the henna cones. Furthermore, draw on your own legs for more practice. In conclusion, practice makes you a master henna artist.
How do you clean your tools after mixing?
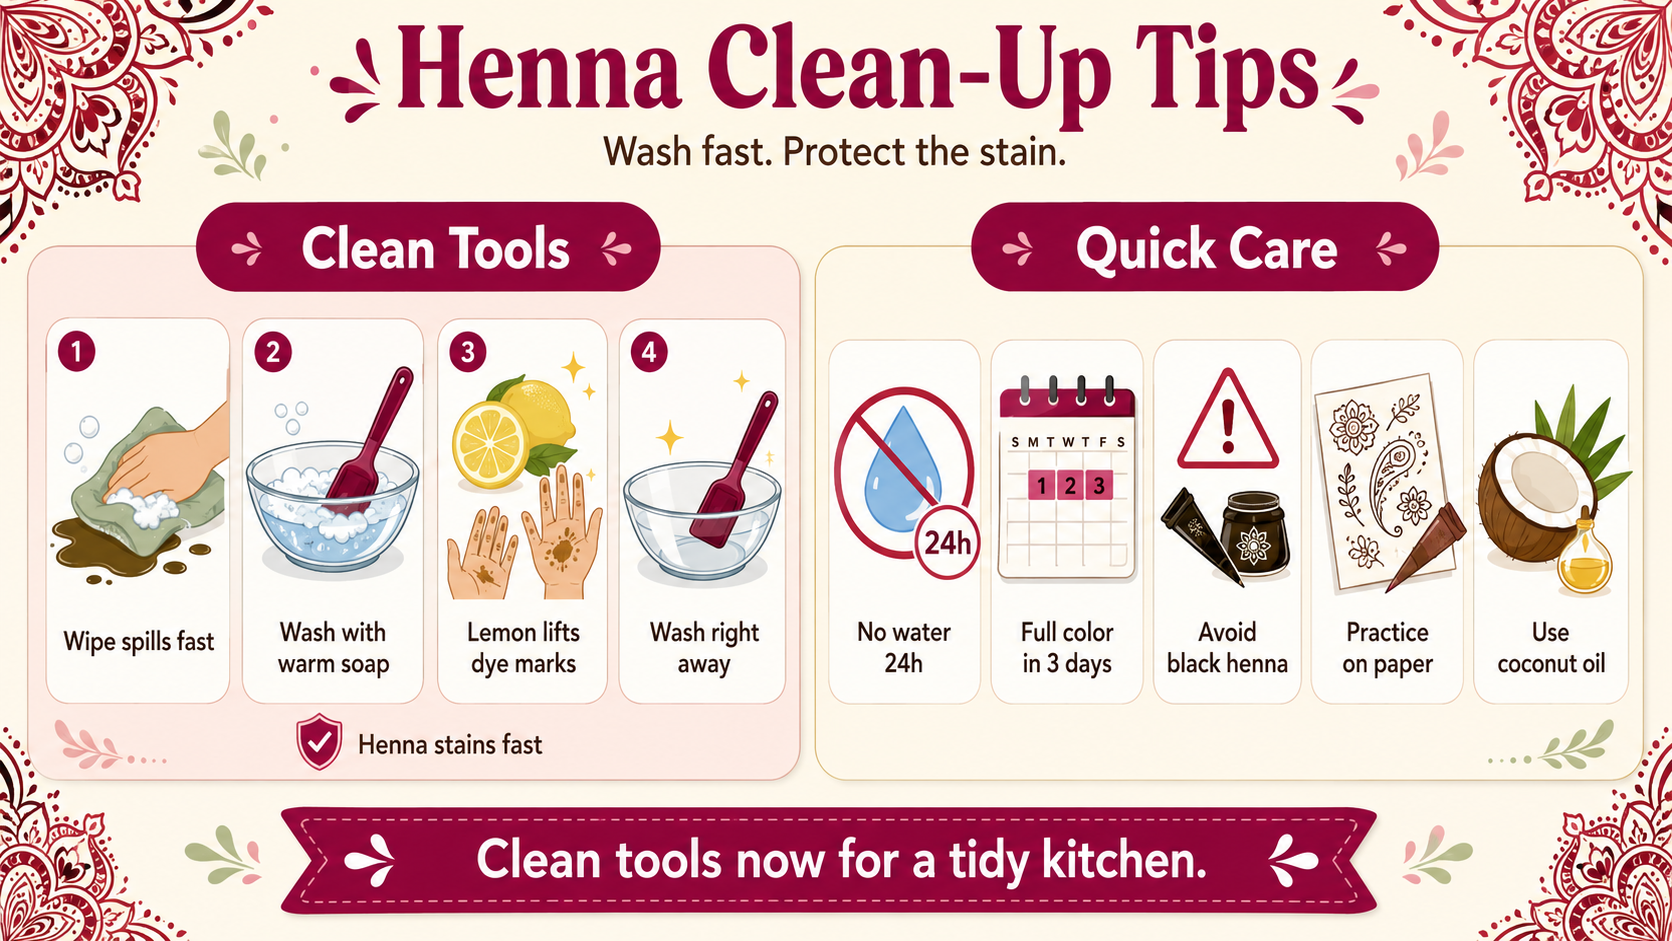
Wipe up every spill with a wet, soapy cloth right away. Henna stains skin and surfaces very quickly and permanently. Use warm, soapy water for your glass bowl and spatula. Actually, lemon juice helps remove any orange dye marks on your hands. Furthermore, wash your tools right away after your work. All in all, a clean kitchen is very good.
- Avoid water for twenty-four hours total.
- Wait three days for the final colour.
- Never use dangerous black chemical henna.
- Practice simple designs on paper first.
- Apply coconut oil to protect the stain.
What makes homemade henna a great hobby?
You know exactly what is inside your own paste, so it is safe. Store-bought cones often have very harsh chemicals hidden inside. Homemade henna is fresh and also very strong. Furthermore, it smells much better than shop-bought products. You can choose your favourite safe floral oils for the scent now. Overall, it is a healthy and creative choice for you.
How do you share your art with friends?
Invite your friends for a fun party and draw designs for them. Henna brings people together for a very relaxing and happy time. You can celebrate special festivals with your beautiful art. Everyone loves a natural and safe henna tattoo. Moreover, it is a great way to show off your new skills. In the end, sharing your art is a wonderful feeling.
Which designs are easiest for new beginners?
Start with small dots, simple petals, and thin vine patterns. These shapes are very easy to learn and draw on the skin. Similarly, you can try drawing leaves and swirls. Once you are confident, try bigger patterns. Furthermore, look at traditional art for many new ideas. Ultimately, even simple designs look very elegant and pretty on the skin.
When should you practise your new skills?
Try to practise a little bit every single week to improve. You can use your frozen henna cones today for a quick session. Actually, your hand will become very steady over time with practice. The more you draw, the better your art will become. Furthermore, try drawing on different areas of your skin. With that in mind, your art will look professional.
- Clean tools immediately with soapy water.
- Enjoy a chemical-free and safe hobby.
- Host a henna party to share your art.
- Start with dots and simple vine patterns.
- Look at traditional art for inspiration.
How do you protect your design while you sleep?
Wrap the dried design in medical tape or toilet paper at night. This keeps the skin warm while you are sleeping. Moreover, it prevents the dry paste from falling into your bed. Make sure the wrap is not too tight on your skin. Specifically, this helps the dye stay in contact with your skin longer. In conclusion, protection helps the stain.
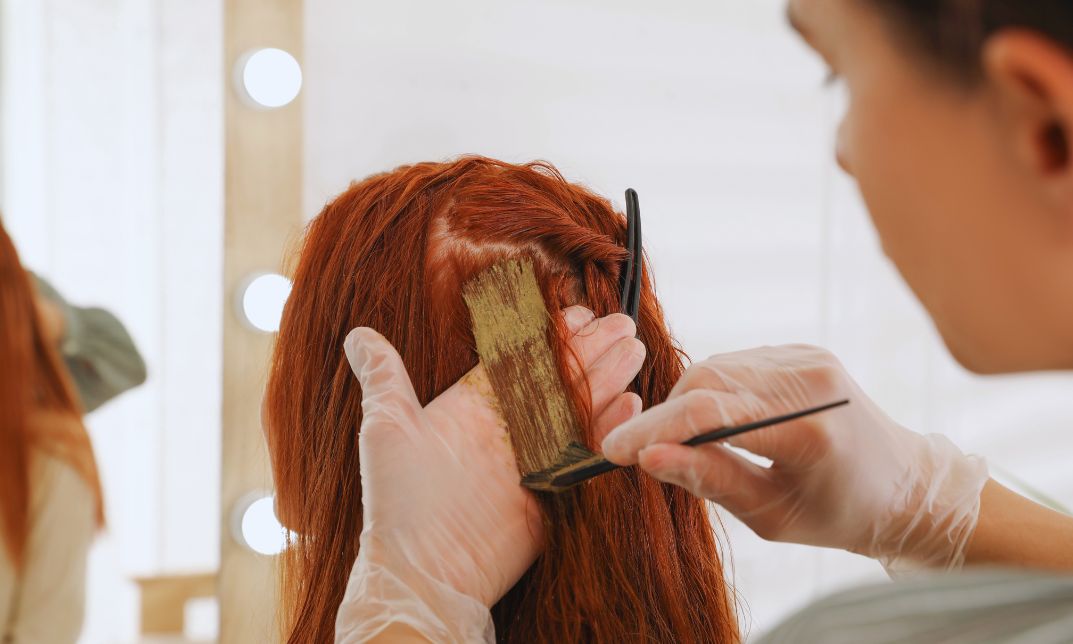
Can this natural paste be used for hair?
Yes, this natural paste is excellent for dying and conditioning your hair. It makes the hair look very shiny and feel strong. Unlike chemical dyes, it adds a protective layer to each hair strand. Furthermore, it gives a beautiful reddish tint to dark hair. You can apply it and leave it for several hours. Ultimately, it is a great natural treatment.
What is the historical origin of henna art?
Henna has been used for celebrations for over five thousand years. People in ancient Egypt and India used it for joy and health. It is a symbol of happiness and good luck. Today, we continue this tradition by making our own fresh paste. Furthermore, it connects us to a very rich cultural history. Overall, it is a timeless and beautiful art form.
How do you continue learning more about henna?
Read books and watch videos to discover new mixing secrets. Every artist has a different way of making their paste special. Try different essential oils to create your favourite scent. Similarly, you can try different sugars for a new texture. Ultimately, the more you learn, the better your results will be.
- Practise weekly to improve your steady hand.
- Wrap your design at night for warmth.
- Use natural henna for healthy, shiny hair.
- Celebrate the long history of henna art.
- Experiment with different body
Final Thoughts
Finally, making natural henna paste at home is easier than many people expect. Fresh ingredients help create a smoother and richer paste. Careful preparation also improves the final colour. Follow each step with patience for the best outcome. You can then enjoy vibrant, long-lasting colour and healthier-looking hair without harsh chemicals.